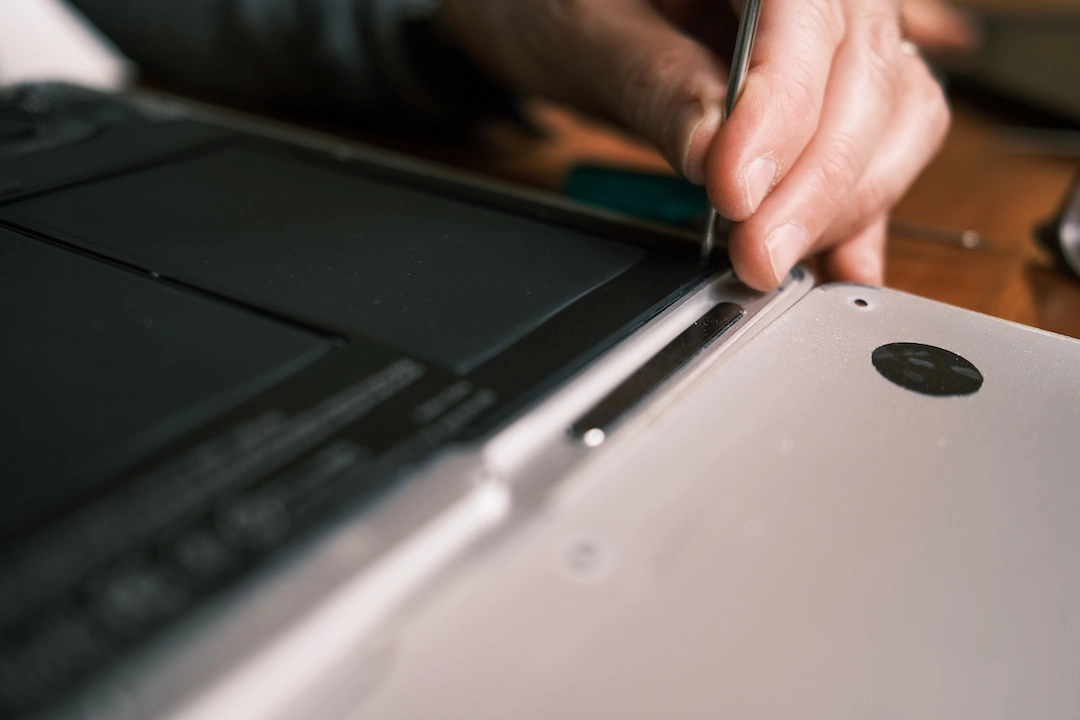
We have always observed that most people visiting our store for laptop repair in North Riverside, feel extremely frustrated whenever they find that their laptop camera is not working and has stopped functioning all of a sudden.
Our primary suggestion is that instead of panicking and rushing while carrying it to the nearest repair store, it’ll be better to try a few troubleshooting steps which are amazing tips to fix a laptop camera. In this article, we have identified six such tips to help you fix your laptop camera if you are facing any issues with it.
All the steps require probing. So, let’s begin.
1. Run the Hardware Troubleshooter
- Right-click on Start
- Select Control Panel.
- Navigate to the View by option in the top right corner.
- By clicking the drop-down arrow, you select large icons.
- After selecting Troubleshooting, click on the View all option on the left pane.
- Choose Hardware and Devices
- Click Next.
Our advice is always to adhere to the on-screen instructions for running the Hardware and Devices troubleshooter for any kind of laptop repair. The troubleshooter will start detecting all issues.
If the issue is with the latest installed device or hardware, then run the Hardware and Devices troubleshooter to fix the problem.
This will check the commonly occurring issues and ensure that all new devices or hardware are properly installed on your device.
2. Reinstall the Laptop Camera
- Right-click on the Start button.
- Select Device Manager.
- From Imaging devices, click the arrow to expand the list.
- Right-click on your laptop camera or integrated webcam, and click Uninstall.
- Reboot your device.
We would appreciate it if you allow it to install the driver automatically on your laptop. Start, then launch the laptop camera again to check if this fixes the problem.
To reinstall the laptop camera driver during laptop repair in Redlands or elsewhere, you need to religiously follow the above steps.
3. Update the Laptop Camera Driver
- Right-click Start
- Select Device Manager.
- Go to Imaging Devices
- Click to expand it.
- You need to right-click on the laptop camera or integrated webcam driver.
- Choose Update Driver software.
- If prompted to choose- “How do you want to search driver”, click Search automatically for updated driver software. When there’s an available driver on your device, choose to Browse my computer for driver software. Select the proper location for updating it. Don’t forget to stay online to execute this.
- Choose Let me pick from a list of device drivers on my computer.
- Select a USB Video device.
- Click Next
- Follow the on-screen instructions.
- Restart your device.
- Tracing the right driver can be challenging. So, it’s better to use an automatic driver tool to scan your laptop for obsolete or missing drivers and update them automatically.
- Dedicated driver updaters, like Driver Fix, can match your hardware with its equivalent driver, eradicating additional issues that might occur while using a mismatched driver.
4. Check Your Antivirus Software
When your laptop camera doesn’t work or open, or you receive an error stating that the laptop camera can’t be found or can’t start, it may be due to antivirus software that is obstructing it or an obsolete webcam driver.
In such a scenario, we recommend you check your antivirus software and look for settings concerned with blocking access or permission to use your webcam. Moreover, you can visit your antivirus software company’s website as well.
5. Roll Back Driver
- Right-click Start
- Select Device Manager.
- Go to the option Camera
- Click the arrow to expand the list.
- Right-click on your webcam
- Then choose Properties.
- Locate the Driver tab
- Last but not least, click Roll Back Driver if it is not greyed out.
6. Check the Camera Privacy Settings
- Click Start
- Select Settings.
- Type webcam in the search field box.
- Select Camera privacy settings.
- Check whether the Let apps use my camera toggle is On.
Whether the laptop camera’s privacy settings are turned on or not, follow the above steps that we have recommended to implement this.
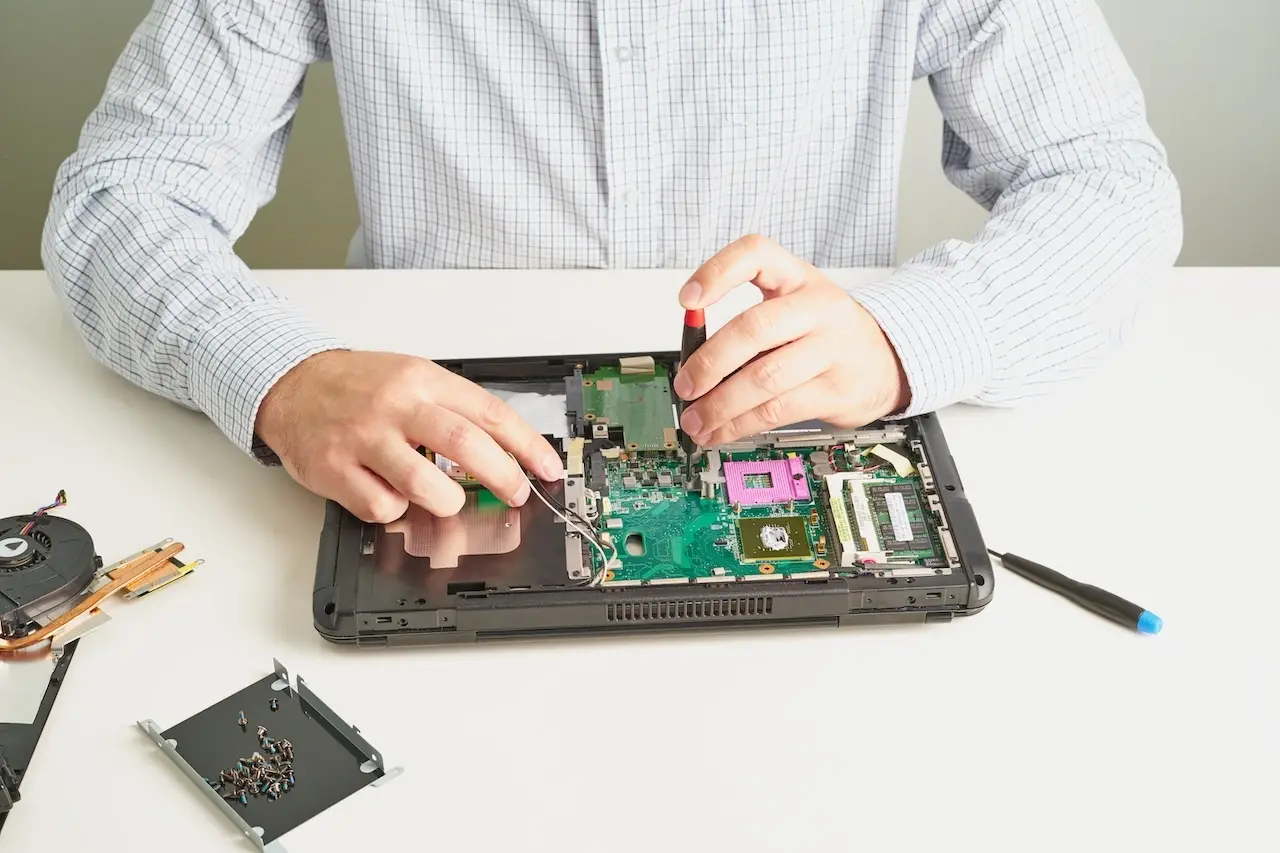
Conclusion
Despite being a reputed store for PC, mobile, and laptop repair in South Riverside and other locations, we encourage people to try things in the DIY method to boost their confidence. Still, if you don’t feel confident enough to try the above-mentioned steps for any of your device(s) then you should feel free to get in touch with us and resolve your issues.


Fb Comments